
We’ve all been there. We need to create a specific scene in Photoshop but we can’t find the proper stock photography to create it. Why not paint it instead? In today’s tutorial we will demonstrate how to create an ancient Egyptian temple entrance that’s been carved out of the side of a fantasy canyon.
This tutorial will involve doing some heavy painting from an original sketch. It was completed entirely in Photoshop and a tablet is required. We’ve also included about 4 hours of video instruction. So what are you waiting for? Let’s get started!
Tutorial Assets
The following assets were used during the production of this tutorial.
- Sketch
- Reference Photo
- Brushes (In Source Folder)
- Gradients (In Source Folder)
Step 1: Sketch
OK the sketch, you guys might like to sketch on paper, directly on Photoshop or on some other software. If you do it on paper, be sure to have access to a good scanner so we can get it into Photoshop. I used to sketch on paper myself yet lately I use PaintStop which is part of zbrush 4.0. OK so the way I go about creating the sketch doesn't have any steps to follow, I just start getting my idea down more or less and add erase or change perspective and composition until I have something I like. I must encourage you to get into it the sketch its just that, a plan of what we have in mind doesn't matter if you are not so good at drawing, just get in there and try getting your idea down. Also in this tutorial I will be writing down the time code for the video where needed so you can jump right into the section of the video that is relevant to the stage we are at; for example these initial sketch steps are on 00:00:10 - 00:01:16 which means that from ten seconds through one minute sixteen seconds you can watch this relevant section here.
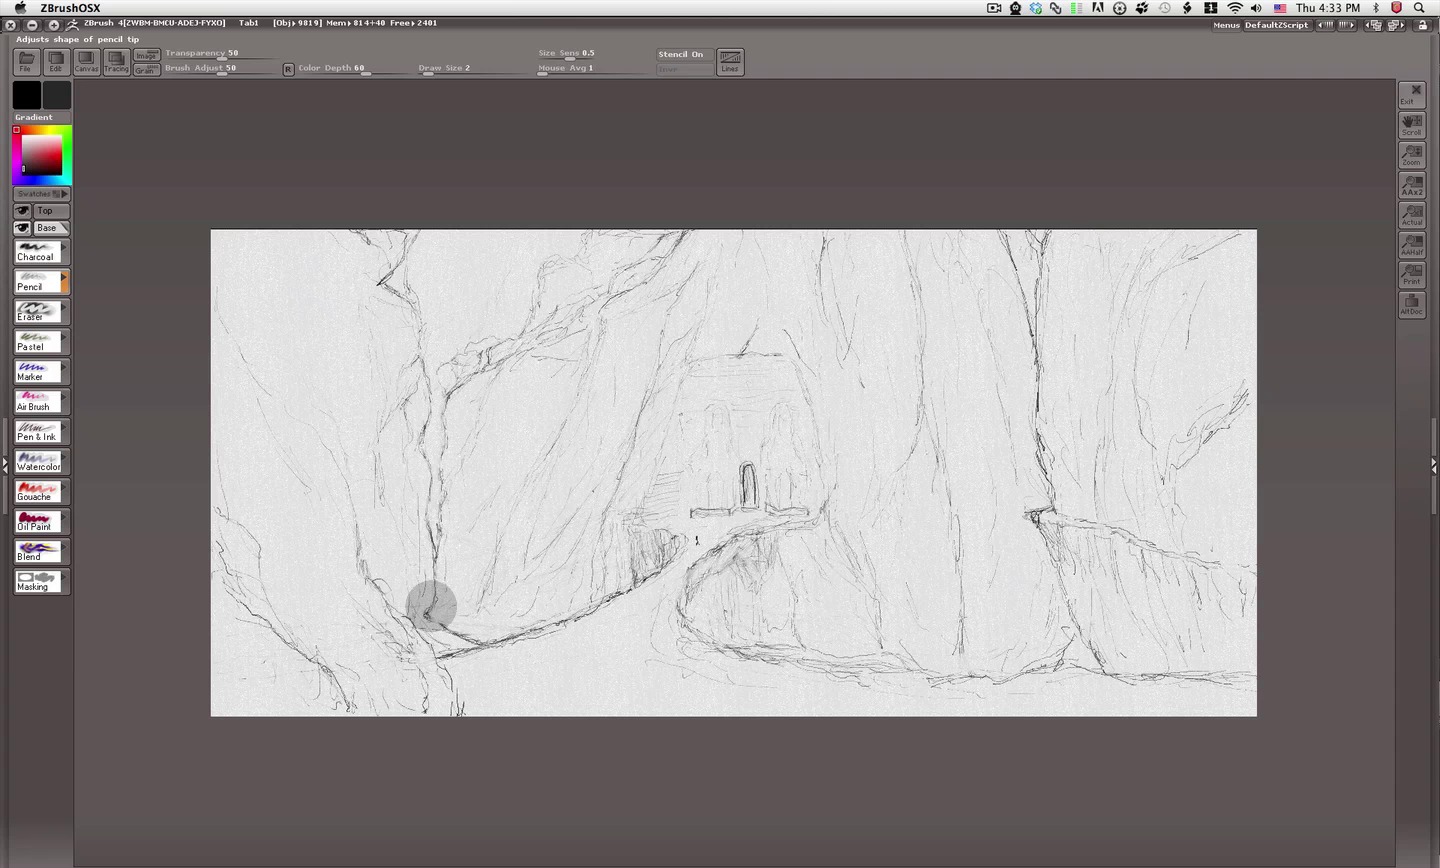


I gradually increase the detail and sharpness of the lines to establish what goes where. Also I decided to record and include the sketching process which took several hours just so you guys can get the idea of the process and get into it. 00:01:17 - 00:04:11


Once I have the lines placed I start shading a bit just to get the idea down on where the light will go in and how will it affect the mood. 00:04:12 - 00:08:02


Now once you get to your final concept, export the image as a .jpeg or something you can open in Photoshop. I made my sketch at 3000 by 1400px since that is the size I have planed for the final image. And that is about everything that can be said about the sketch. Experiment, play, mess around, find your composition, find your concept, that is what the sketch is for.


Step 2: Open the sketch, and block in the main shapes
Now open up the sketch file provided, your own sketch, or if you did it on paper, create a 3000 by 1400 px new document, and paste your sketch scan in a new layer. Of course if you have a different image size in mind for your piece, it doesn't matter, you are learning to paint, not to follow screen steps to the letter.


Now let's unlock the base layer and set its mode to soft light; let's also create a new layer and drag it below the sketch


OK we will be using just grays all through the painting a medium light gray, and a darker gray will be the base for everything we will paint; and also we will use mostly just Photoshop brushes and modify them a bit. For now select this gray here and the brush shown below.


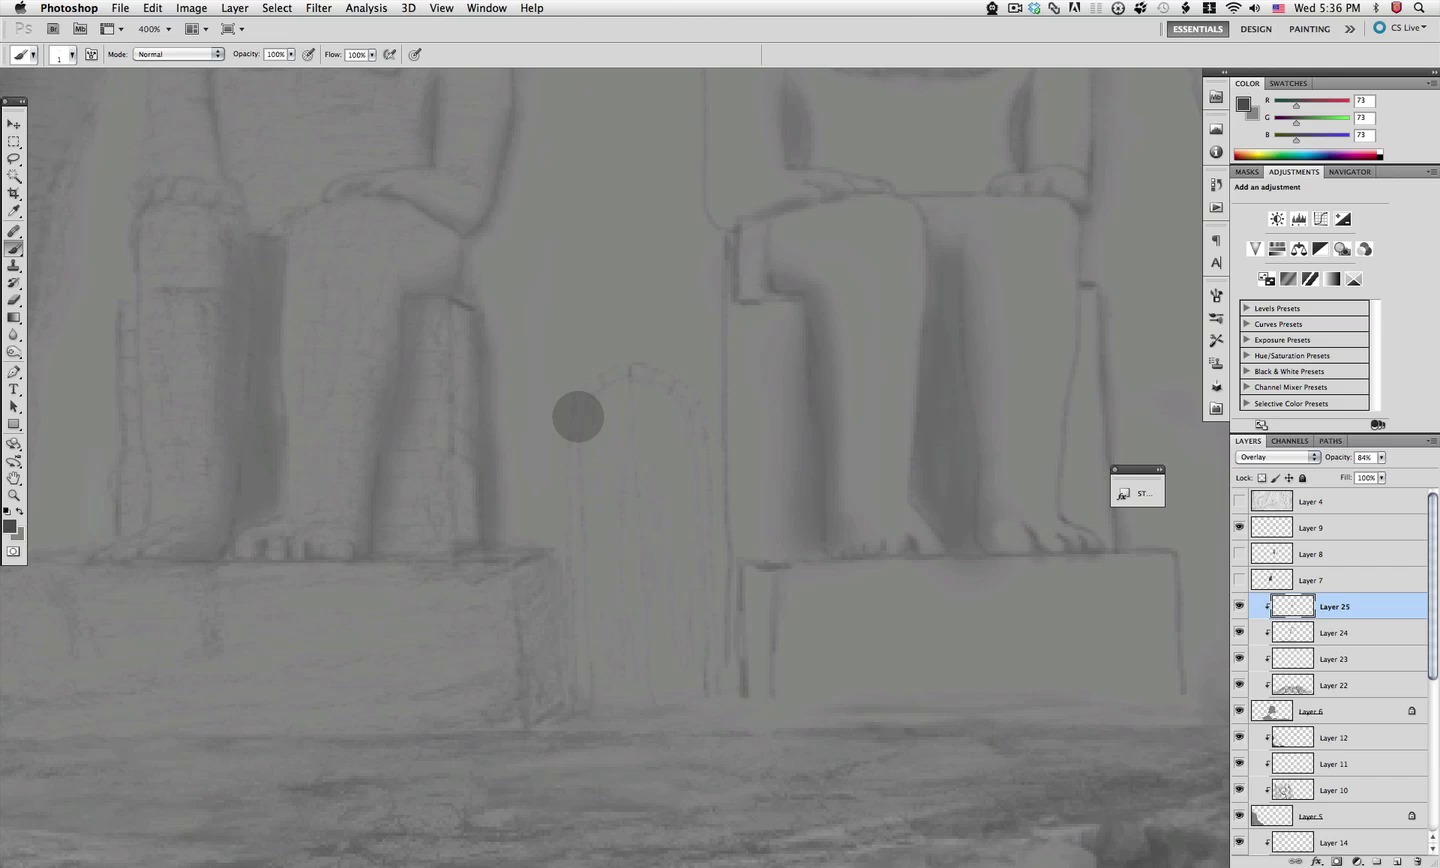
Now we will be dividing our main shapes in separate layers, the main central cliffs, the left and right cliffs, the foreground rocks to the left, and the path bridge and door section. Let's start with the central cliff section as shown here, just fill in with the solid gray we have selected following the sketch. 00:00:10 - 00:02:38 Try to make sure you cover everything and don't leave gaps anywhere.


Next we need to adjust some settings in the brush palette for this same blocky brush we just used. So adjust shape dynamics and transfer as shown here. And you know what, I will save this brush in the brush file since we will be using it quite a bit. 00:02:38


Once we have the brush ready we will select this other darker gray for our duo of colors, just shift between foreground and background colors so you have the light gray and dark gray assigned to each and you can switch between both just by hitting X on the keyboard. 00:02:58


Now if needed reduce the opacity of the sketch to see a bit better what we will be doing; you might be tempted to use all that sketch work, yet we will replace everything in the final image and actually the sketch layer will be off at the end.


Where needed switch to the lighter gray to reduce the shape intensity and the back to the darker gray to continue the shaping process. 00:05:55


OK now that the central section its all blocked in, we can move on to the right cliff section in a new layer. Also notice that I left the central part where the entrance is, our of this shape since we will handle this part and the bridge separately.

And again we use the medium gray to fill in all the shape that is part of the right hand side cliffs. 00:07:12


Now select the newly saved brush; remember the standard blocky brush that we modified a bit and I saved it for later use.


Now the same way we did back on the previous section we use the sketch guide to start indicating sections of rock and cracks. 00:07:44


OK we now move on to a new section so create yet another layer.

Select back the standard blocky brush and switch back to the medium gray as shown below. Remember we will be doing this all the time we will be using dark and light grays to create new shades so keep that in mind.


OK so let's fill in our left ridge section. Notice that this is separated from a big foreground rock that sits in the lower left corner of our image. 00:10:08


And we repeat once again change the brush to our modified brush and to dark gray to paint in the main features of the rock guided by the sketch. 00:11:14


Let's move on to another section, so we will need a new layer. Notice how the previous layer is locked, that is to avoid the work on dark gray to spill over outside of the shape since its in between two sections. So anytime you want to avoid your strokes going outside the intended layer lock the pixels.

OK so now we will fill in the shape for the foreground rock the same way we have been doing with the same medium gray. 00:12:44


And once again switch to the darker gray and to the custom brush to paint in the shades where the main features of the sketch are. Painting its not an exact science, so you might notice at this point that sometimes I reduce the brush size a bit, so if you feel its needed by all means do so. Get to know your brush. 00:13:24


Now we have all this central section including the foreground ground, bridge and entrance, so let's go ahead and make a new layer for it.


And I'm sure you know by now what to do; fill in the section with the lighter gray as shown here.


Then of course change your brush and paint the main features indicated in the sketch 00:17:03 Also remember you don't have to follow the sketch to the letter, you might want or stumble upon some different features you might want to add or ignore its all up to you and what your painting will lead you to.


Step 3: The temple statues
Now we will be adding a bit of indication for the statues shapes, if you can do this all by memory by all means go ahead, if you want the statues to be Persian, roman, or something from your imagination also feel free. Yet for the rest of us we will use this image to help us indicate the shapes we will use. So go ahead and copy this image on to a new layer in our document.


And first thing we need to do its scale it way down to the size that fits our sketch.


Then reduce the opacity of the image quite a bit to around 33% so we can see what we are doing.

OK now we will use half the image for the left statue and half for the right one; so use the lasso tool to select the right section and cut paste to a new layer. 00:00:20


OK great now we have two sections in separate layers that we can use.

Let's start with the left statue, select the distort command to modify it just a bit as shown below.


Now let's make this brush very small, and select the darker gray, maybe even make it a bit darker if you need.


Then simply make a new layer and trace the shape of the statue as shown here. You don't have to be exact or copy everything we just need the rough indication as to where the features sit. 00:00:49


And here it is, this is all that we need from this image.


OK let's now repeat the same steps for the other statue, first set it into position and distort it a bit.


Be sure it sits about where you want it to be in the image, leaving space for the door in the middle.


And simply enough trace it in the same way as the other. 00:04:43 And that is it for this step simple enough.


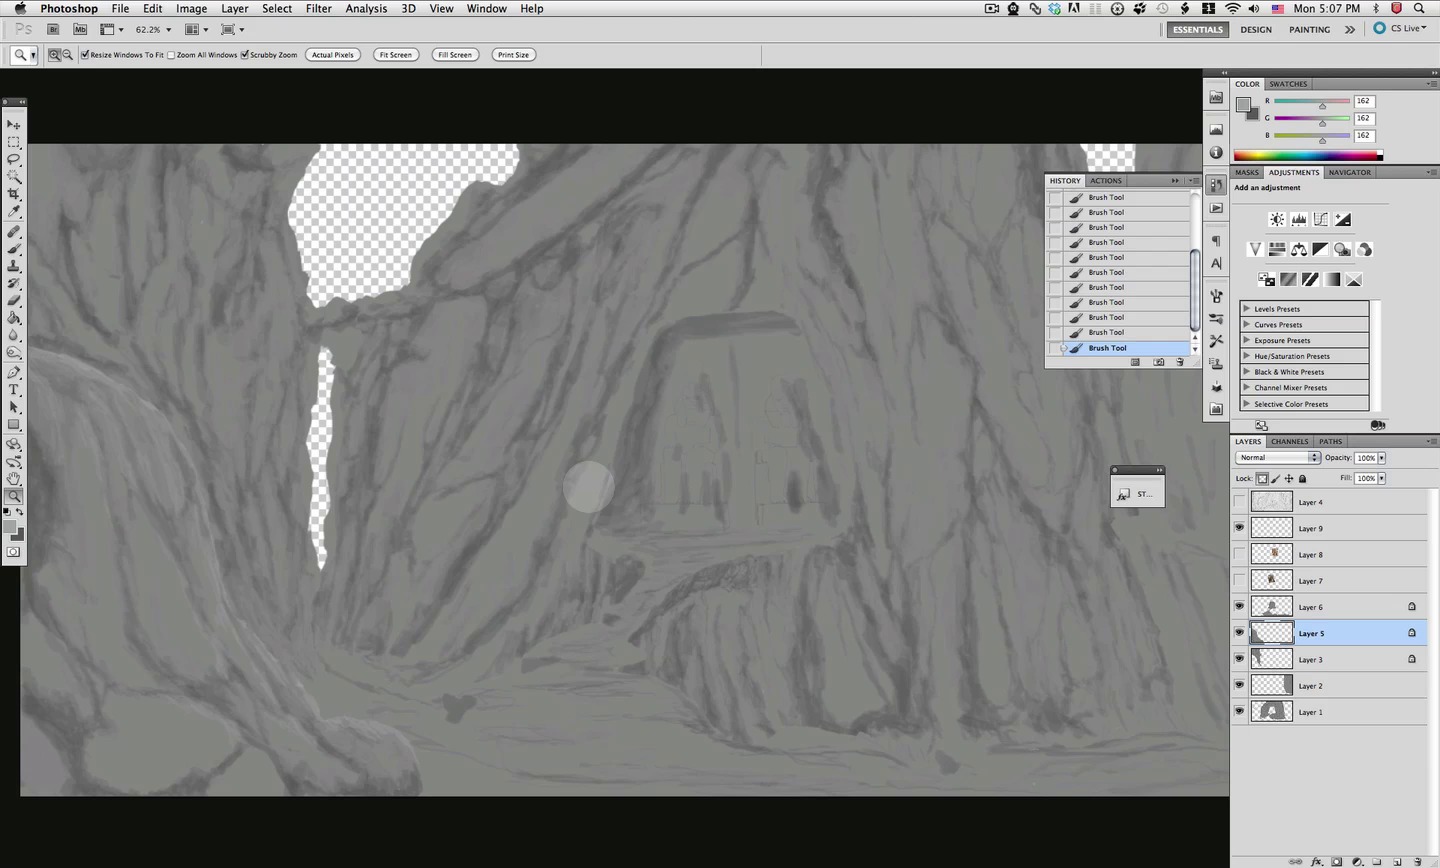
Step 4: Zoomed out detail check
OK first off let's check if there are any gaps on the layers or in between them so grab this brush here again and the base medium gray as shown below; or just sample from the canvas.


As you can see I left some small gaps that when we hide the sketch become visible as shown here.


So using the first layer at the bottom of the stack we will go around the piece carefully filling in those small gaps. 00:00:04


Once you have all those covered grab our custom brush again.


Then with the image zoomed out let's evaluate the overall feel of the features we have right now with the sketch layer already hidden so we build upon what we have without its influence. This is a simple yet very important step in the process, to step off the influence of the sketch.


So just go on find your rock shapes; switch between the light and dark gray as needed to find those shapes. Remember we keep our image zoomed out to avoid going into any detail at this point. 00:01:42


Step 5: Detail
Now it will be apparent that we will be increasing detail in each stage, we will zoom in and reduce the brush size as we go further into detail. For this stage we will try to keep the zoom no further than 90%, of course it might be some sections that I go in more than that so its not an unbreakable rule, its kind of a guideline. As you see in this screen here when we zoom in, apparent strokes are visible yet they provide the guide for the next level in detail.


Now let's grab our custom brush and reduce its size to about 33px; yet again its not a fixed size that you must keep or you will fail this attempt to paint.


Also remember we will be switching between the grays we have set for foreground and background; the medium gray and darker gray we have established from the beginning.

So let's get to it, as you can see here we use the existing strokes to increase the rock look of our painting just a bit more. Still the strokes are very much apparent yet we are finding shapes and form. 00:00:27 - 00:14:23


Here is another section of before and after of what we are trying to accomplish. 00:05:53


Now let's go on to the left cliff and do the same work as shown here, take the existing basic form and add detail, there is no mathematical formula to go about this, just paint in try and experiment using the work so far as a guide. 00:14:44 - 00:22:28


You can see a closer crop of the work in this section where the change in detail its visible.


Now for the left foreground rocks, I first filled in with the basic medium gray to reshape the features in this section that didn't seem quite right at the moment, so you can see that getting a feel for this process you can always go in and change anything you need. 00:22:31 - 00:26:27


Now let's reduce our brush size a bit and select a lighter gray as shown below. You can always change back to our basic gray by sampling from the canvas.


What we will be doing with this is to add a bit of highlight to this left rock so we can easily distinguish it from the rest of the rocks, for the rest of the highlight process we will be going in later. 00:26:43 - 00:28:07


OK now let's reset our custom brush back.


Let's now continue this stage process on the right side cliffs refining the detail provided in the previous steps as shown below. 00:28:14 - 00:30:20


Then reduce the size once again to about 34 px.


And with it let's refine the shapes even further and find that little path found on the original sketch 00:30:27 - 00:36:25


At this point reset the gray back to the original medium gray base if you have changed it.

We will now continue with the detail buildup in the central section layer of our image, yet first we will fill in the course shading in the two statues that we will redo later on. So as shown below fill in all the basic shadows we have from the first steps. And then continue on adding detail to the rest of the foreground central layer. 00:36:51 - 00:38:24


Once we have that original shading covered, we go on to the detail as we did with the other sections of the cliffs. Admittedly in this section I zoomed in a bit more to find some detail on the flat foreground area. 00:38:33 - 00:56:12


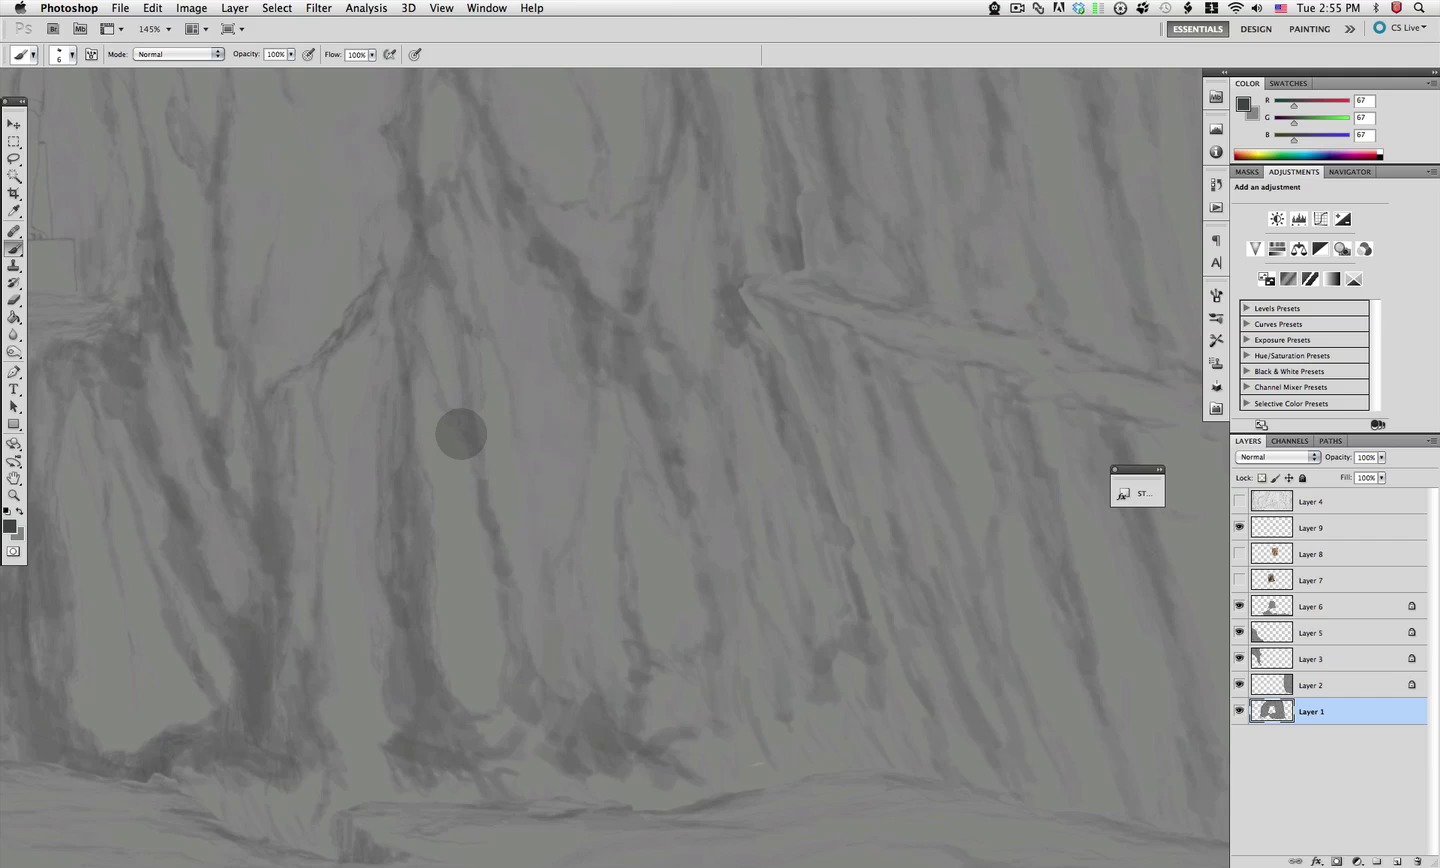
Step 6: Detail
As we go further into detail with smaller brushes and closer in, the time needed and spent painting increases exponentially. We will start reducing the size of our custom brush to about 3px yet again you will notice that I sometimes vary the size a bit so don't get distracted by it, its just a change needed in tighter smaller areas or wider bigger areas. So as you can see in these next screens it is the same process, yet at a smaller tighter and increased detail level. And also be sure that at this point you have the layers locked so you don't spill any strokes on to the other shapes. 00:00:00 - 00:04:00


Here you can see clearly the refining process in the left cliff from rough strokes to tighter lines and shapes, yet although easily explained here, you can see the process took quite a long time in the video. 00:04:10 - 00:16:12


Here is a close up sample of how we are transforming and how the detail so far seems quite rough, yet we increasingly turn those strokes into finer detail.


OK let's move on to the central section layer, to do the same work on it.

We go ahead in the same fashion as previously done adding smaller detail all over to refine and make our painting increasingly more rock like. 00:16:22 - 00:42:46


Here is another area where you can see the detail added, taking the rough strokes and refining them until a new look its achieved.


And yet another example on the right lower section of this layer you zoom in and clearly the strokes are visible and don't look much like a rock face, yet we go in with our small brush and make it look much closer to just that.


Let's now move on to the right of our image to this layer here.

The process its the same as previously done, we go in and using the rough strokes we have add detail to make it look much more defined finding the shapes and features of our rock face. 00:42:54 - 00:44:50


Now in this section here there is special detail as we need to work on the narrow path on the side of the cliff, yet that is the only difference as you can see below the quest for finding shapes on the strokes for our rocks still continues. 00:45:13 - 00:50:22 And that is it for this step continue studying the rest of the video and find your detail the rocks and shapes.


Step 7: Detail
On this step we will venture even further with our process of increasing and finding detail for our rock cliffs. Also we will make a couple of changes that are worth mentioning. First is the change made below changing the profile of both of this layer borders as shown below, and for this we will need to unlock the layers so we can erase the edge; then after we are finished we will lock them again.
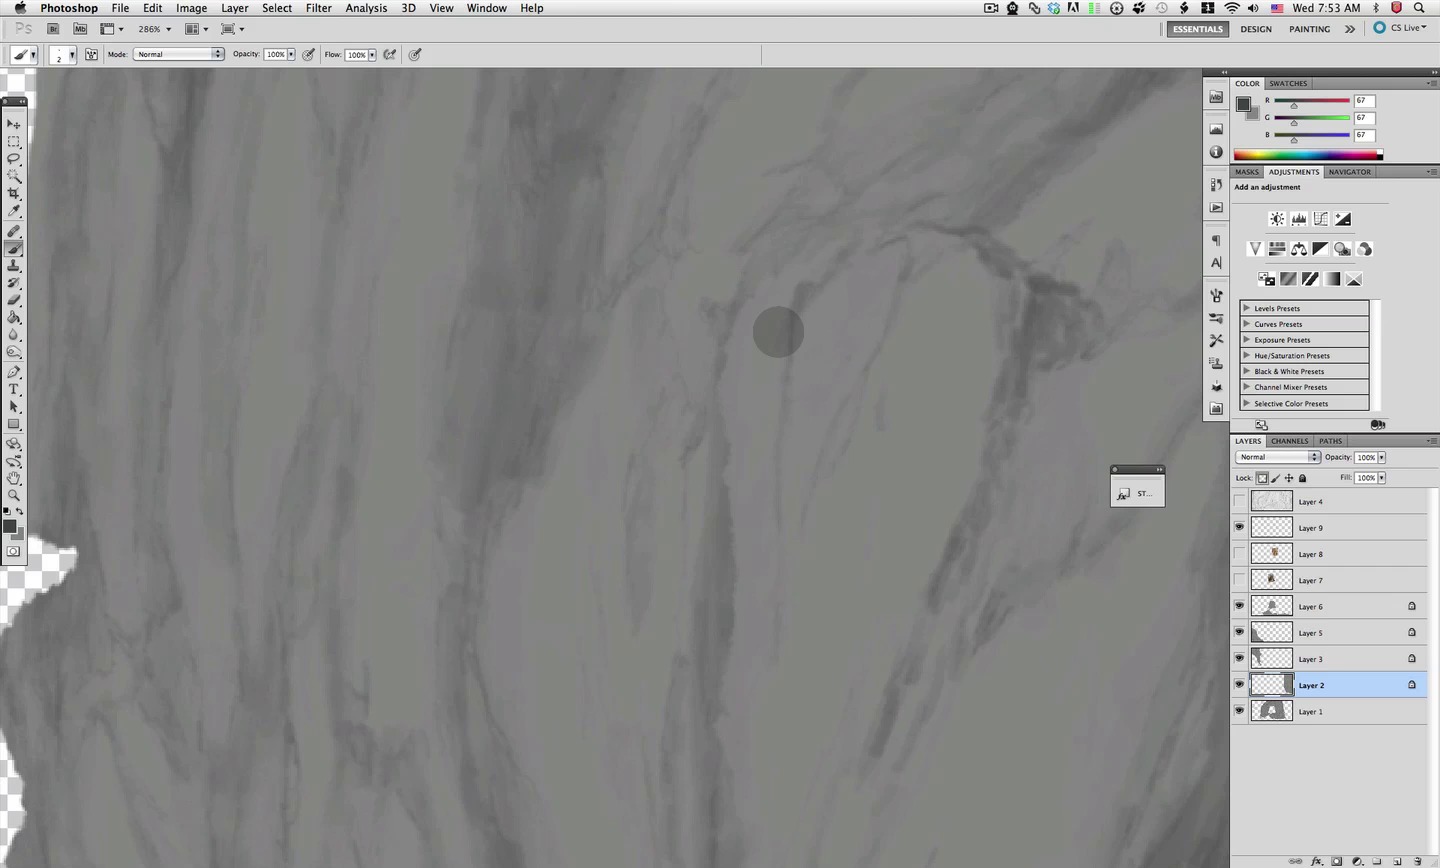


OK once we are finished modifying that to our satisfaction let's go on to our hard work on detail, so let's pick up our custom brush once again and make it quite small. We will be using a size between 4 and 2 px at this stage.


As you can see if we zoom in even further, right now we are about 200% rough strokes are still apparent so let's start building up on those to get one step closer to the fine detail we want. Right here we are on the central section layer at the top left. 00:01:14 - 00:04:34


Let's now move on to the right of our image and continue working on the right cliff 00:05:28 - 00:11:06


Working on this layer I found a section that didn't seem quite right so I decided to go ahead and make a change, which is the second of the changes I mentioned earlier. So in the section marked here I decided to modify the rock first by using the medium base gray to establish the zone to be changed. Then when you do this you have to go through all the steps so far to bring this new feature up to par with the rest of the image as shown below. 00:11:14 - 00:13:15


So after pairing up the new feature this is where I ended up with this section, as you can see a bit different rock that splits a bit and adds some variation to this rock face.


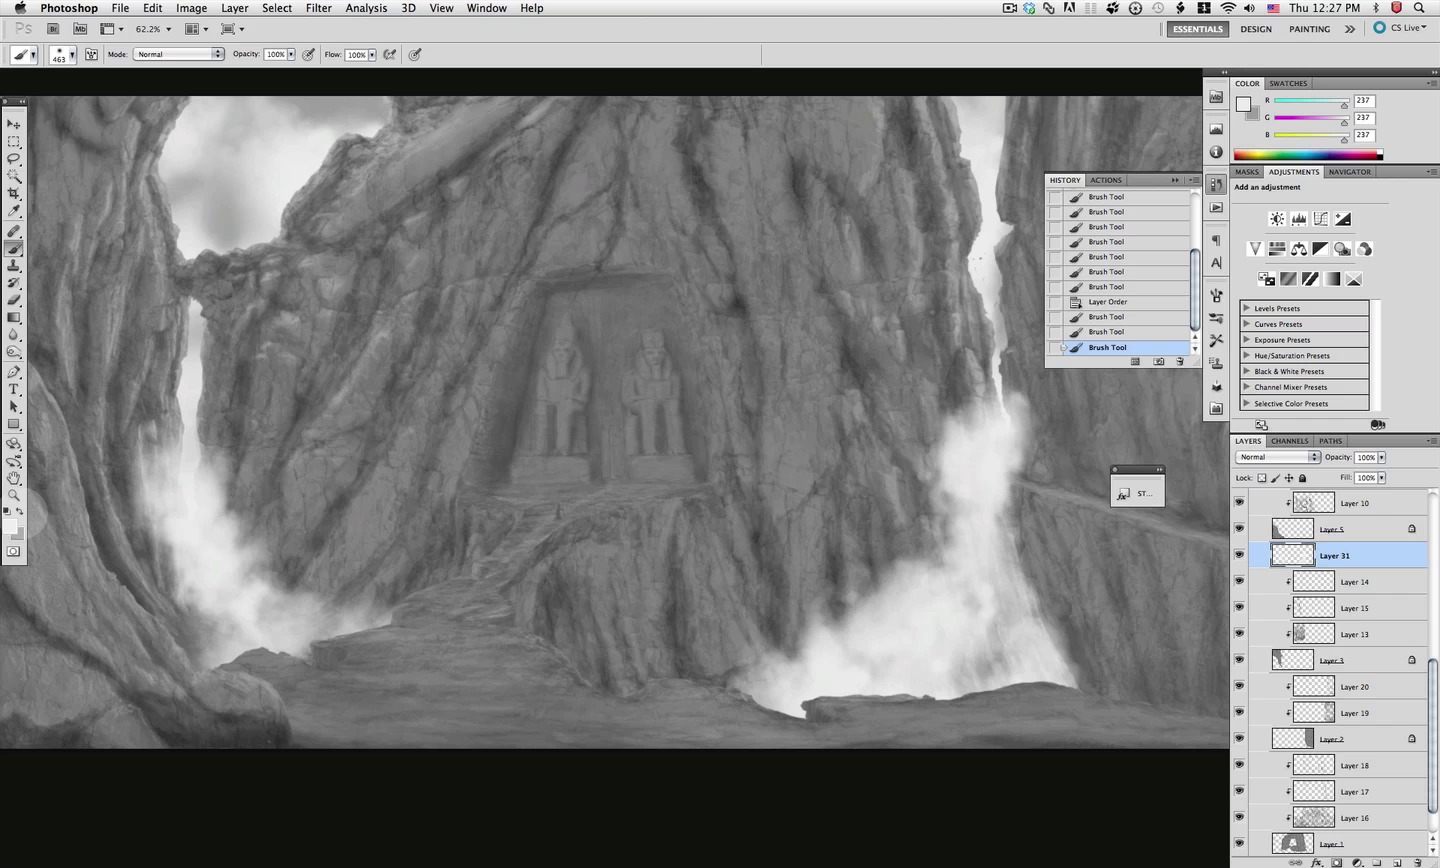
Now let's go on to the far left of our image to work on the cliff layer at the back, and continue with the same process; you zoom in and start adding the detail on the existing strokes as shown below. 00:13:19 - 00:20:50


During the work in this section I encountered the area marked here that somehow managed to escape the process at about 00:17:05 so the same way we did the change in earlier; we have to bring these rocks to the current stage so we can continue.


Its now time to start work in the lower left foreground rocks layer following the same process we have used so far as shown below. 00:20:54 - 00:24:20


And so this is where we stand at this point in the creation of our image; as you can see the accumulating detail really starts to change the feel of our image overall.


Step 8: Texture
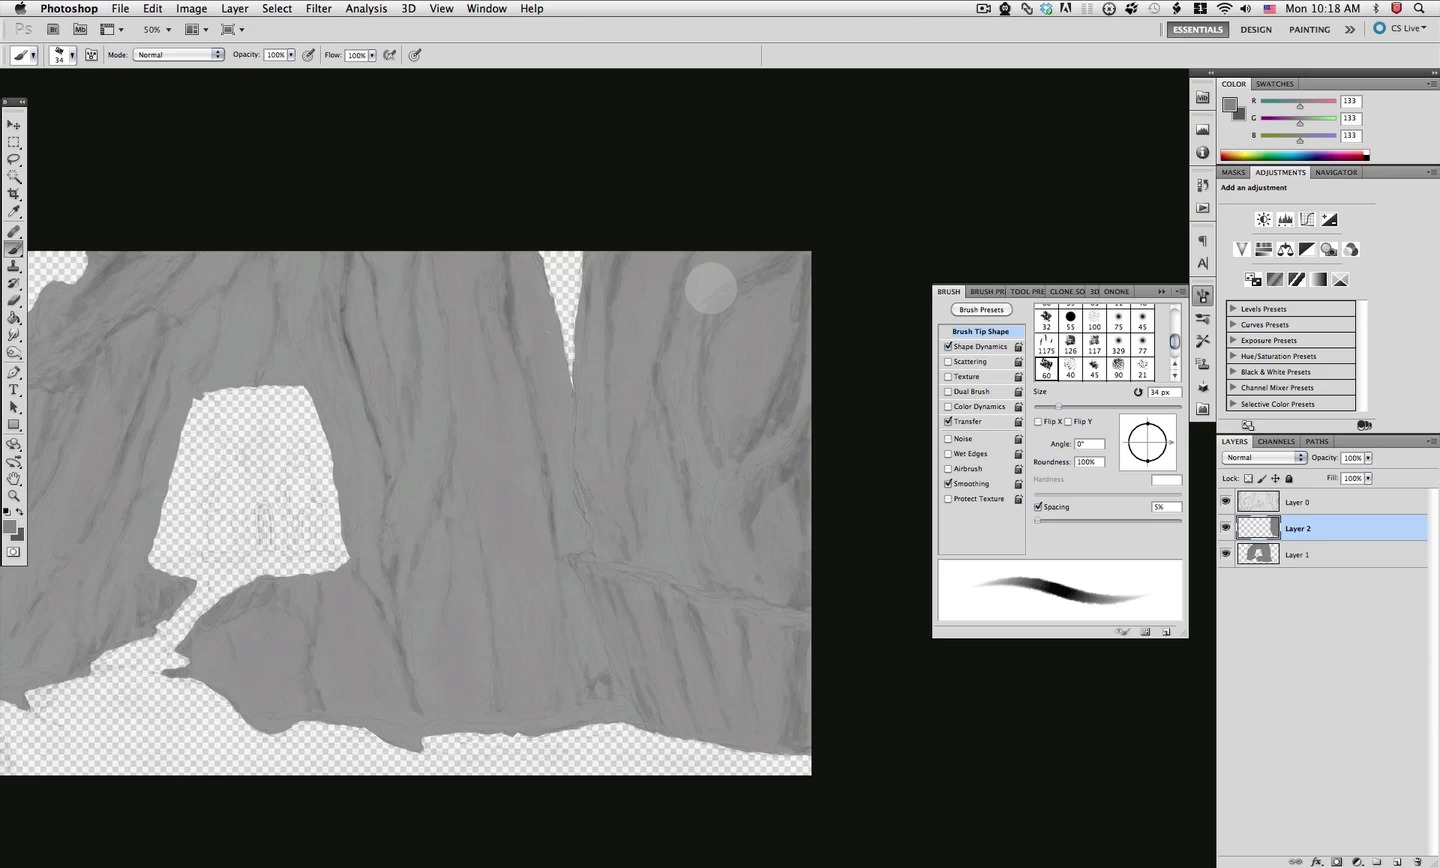
OK this step shows a usual shortcut when building up paintings such as this; you can go on adding detail which will provide you with weeks of fun, yet usually deadlines have to be met and work has to be delivered on time. To deliver realistic results textures are used more than you think both in painting and on every 3d work that you might have admired. So even if you decide to push your painting further it is very important to have the knowledge of texture usage in Photoshop in a painting such as this one. OK so this step contrary to the previous steps has a big amount of precise steps to follow, first of all I created 3 texture brushes from rock textures that I am sure you know by now how to create, so if you want to use the ones I provide in the brush file or decide to make your own both options are OK. Let's select first the brush shown here to start with.


We will be repeating this process for each of the layers with some variation yet the main steps are the same, so if you follow this first set, you will be flying through the rest of the step. Let's make a new layer on top of the left foreground rocks as shown here.

And for this new layer we will make it a clipping mask and set its mode to soft light.


Now stamp with the big texture brush on the shape, you can undo and redo until you get something that sits right on the layer shape as shown here.


Then as much as you think the texture fits and looks nice we will in all cases modify it so it works for our image, and that is exactly what we want. So let's grab the eraser and the brush shown below.


Then we erase sections that either look out of place, or mess with our hard work done so far as shown here.


Once we are finished erasing what we need, we will then select our paintbrush tool, and the brush and size shown here, plus the slightly lighter gray selected below.


We will now make a new layer also clipped and set its mode to overlay.


Then we will paint in subtle highlights that both match the new texture and our original painting as shown here.


Let's go on and add yet another clipped layer also with its mode set to overlay and also let's change the brush as shown below.


With the darker gray selected we will now add some shading to the sections that feel further out of the overall global illumination.


Then change the brush to our custom brush here and add a bit to those soft edges left by the previous brush as shown below.


Then select the eraser and also the same custom brush as shown below.


Erase off the edges to conform the shades shape to the rocks as marked here.


OK so that is the whole process for setting up the texture for each of our layers, one layer of texture, some creative erasing, one layer of shading, and one highlight layer all clipped to the original base painting layer. Now let's go on to the next section that will be the left background cliff, so create a new layer on top of that one.

Set it as a clipping mask and set its mode to soft light as shown below.


Now select this brush here and stamp with it to cover the shape of our layer.


And the same as we did before we will erase wherever it doesn't fit or affects our painting work. So grab the eraser and the brush shown below at about 11 px.


There are quite a bunch of sections where the texture its not providing anything at all or simply doesn't fit marked here so we will erase all over as shown.


Once we are finished erasing all that is needed we will go ahead with a new layer for our highlights also clipped and its mode set to overlay. Then we will paint using this brush here and the lighter gray you should still have selected.


I tried to indicate the highlights that we are going to need here, yet I think you can more clearly see the results below.


Then we need the other layer for the shading, also clipped and set to overlay. And grab your darker gray and the soft brush shown below.


And you can see here in comparison where the shading is applied.


And again we change the brush to our custom mod and sharpen the soft shading a bit where needed so it conforms to the rock shapes better.


And again as we have done before we select the eraser tool and the same custom brush.


Then erase just a bit from where the light comes from as needed for the shadows to be sharper yet not too much.


Next let's reduce our brush size and select the lighter gray.


Start adding highlights as shown here form a slightly brighter source that comes in between the cliffs.


Also here you can see a before and after of the highlight painting in the section a bit lower


You can see here why I showed you the two different sections since the rock bridge in the middle affects how the light comes in from behind the cliffs.


OK I'm sure by now you know what to do with the rest of the layers and are well on the way applying texture to all of them, still let's go over all of them in case you need to come back and take a peak. So let's create a new layer for the middle section, make it a clipping mask and set its mode to soft light.

For this section I chose the texture brush selected here, so go ahead and pick that one up.


With the darker gray stamp the texture all over as shown, be sure not to overlap your texture much since it will only start to get dark without any detail.


Grab the eraser as shown below.


Right here you can see the sections of the texture that we want to erase and the result below. Let me repeat we want the texture to work with the painting we have done, not to take over.


Continue erasing all over where needed; this is my result so far.


Now let's create another layer for our highlights, clipped and set to overlay.

Hope you have not lost or changed your lighter gray, but here is a reminder if you need or sample from the canvas in other highlights. Then grab the custom brush again.


And start adding the highlights, as shown below, nothing like a before and after screen to get the idea.


Then reduce the size of the brush as shown here


And let's zoom in to detail the highlights a bit


OK do the same in the left side as shown here yet remember the rock bridge between the left cliffs affect how the light will get in and the different shape will also receive more light from the sky dome.


OK let's move on, grab the soft brush back and make a new layer, clipped and set to overlay


Switch to the darker gray color

And apply shading all around this section as shown here. Remember, this shading its not overall shading its the shading between each rock shapes its the shading for the cracks etc. and erase a bit where needed as we have done before. 00:25:28 - 00:26:10


Then change the brush to this one and reduce the size a bit as shown, plus select the lighter gray color


In this section we will paint in some smaller highlights as shown here. 00:26:38


Let's now go on to the right cliff layer so create a new clipped layer and again set it to soft light.


To stamp the texture we will use this brush here, of course with the darker gray selected.


We will first stamp the bottom half as shown here.


Then we will rotate the brush 180 degrees.

And then stamp the upper section.


Now we will go on to erase what we don't need of the texture with this brush here.


Here you can see where is it obvious where the texture is not providing anything and in most cases it hurts our painting below, so let's erase it.


We should also pay special attention to the path section marked here and erase accordingly.


Now let's go on to a new layer, this time let it stay in normal mode, but also clipped.

First off select the light gray color for our brush and the custom brush with the size shown below.


Then paint in highlights as shown below, keep in mind that the shape and position of this cliff limits the amount of light hitting the rocks.


Now switch to the darker gray and also select the soft brush as shown below.


We will do our shading work this time in the same layer because of the unique qualities of this rock face, yet you might choose to use a separate layer to be safe. So go ahead and shade as shown below.


Then grab the eraser with our custom brush, maybe a bit bigger at about 189px and erase in the sections shown below to make the shadows fit the rocks.


Now select the custom brush again and the light gray.


Then touch up and rework the highlights as shown below.


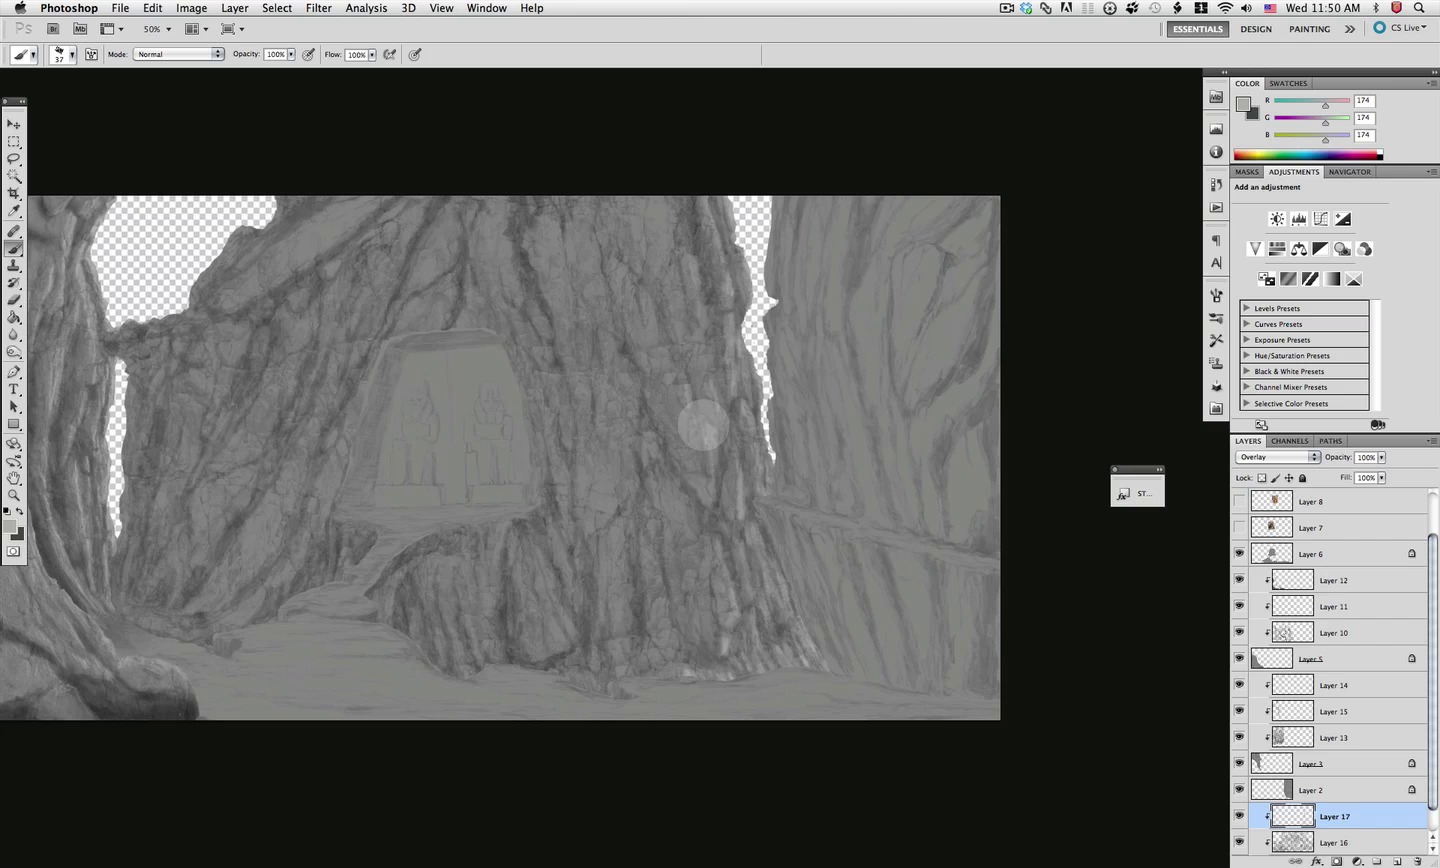
Now we will move on to the very important central section of our image.

This section also has some differences from the others, so first of all let's create a new layer on top and fill it with the light gray.

This will serve us so we can see what we will do next. On top of that create another layer.

We should now see only the statues trace over the gray color. Now select the texture brush shown below.


Rotate the brush 90 degrees as shown.

And stamp all over the image as shown here so you cover the area completely.


Now we don't need the gray layer anymore so just delete it.

Now make the texture layer a clipping mask and set its mode to soft light.

Then find the distort command and modify the perspective of the texture as shown below.


OK now we will go on with the familiar process first erasing where we don't want the texture.

Here you can see marked up the sections that need to be erased.


Then grab the custom brush to about 3px size and a light gray, also make a new clipped layer set to overlay.


Paint in some subtle highlights as shown below.


And also apply highlight work to the other sections shown here.


There we have it we have finalized this long stage and applied the texture all over our rock faces and cliffs.


Step 9: Statue Detail
We will now go into detailing the central section of our image and pair up our statues with the rest of the scene yet first off let's go into this small modification I did to this section here. So select the central layer so we can do some work on it.


First off grab our custom brush once again at about 27px


Let's sample a light gray from around this area and start blocking in as shown below so we can change the features of this rock


Then change back to the darker gray and reduce the size of the brush. Then as we did a couple of times already let's bring the detail up to pair in the modified section. 00:01:46 - 00:03:00


Now let's switch back to the lighter gray and work in some highlights. 00:03:00 - 00:03:16


OK now we can go onto this section here and start bringing its detail up to match the rest of the scene. So select the texture clipped layer for this.


Let's sample a dark gray from the adjacent section as shown here and select our brush shown below at about 3px.


Then paint in some cracks and detail that merges the border with the rest of the scene as shown here.


Now set the brush to about 22px and sample a medium gray from within the wall as shown.


As shown here add a bit of carved texture to those walls.


Now let's create yet another clipped layer set to overlay as shown here.

Let's jump back to our soft brush at about 12px with the darker gray selected

Paint in dome shading for the main contour of the statues.


Then grab the eraser and the same soft brush but reduce its size to about 2 ex


Then erase the shading a bit to conform to the shapes as shown here.


Next go in and enhance the shadows in the sections shown below.


Then let's reduce the size of the brush all the way down to only 2px and start painting in more detail for the statues as shown below. 00:13:07 - 00:17:33


Continue with a bit of detail in the body as shown here.


Now let's change the brush to this more defined shape and continue working on the detail. 00:17:47 - 00:18:05


Now let me show you the modifications I made to the custom brush we have been using. I added color dynamics and scattering with the settings shown here, which makes for a very useful noisy brush we will be using quite a bit for now on, so I also saved it to the brush file.


Now with this tiny noisy brush we will add more detail to the overall structure of the statue with the result shown below. 00:18:22 - 00:24:06


Use the same brush to add detail to the base of the statue.


Now with the same brush let's re-draw the door section in between the statues as shown here.


Also with the same noisy brush add some texture to the door itself.

Complete the process applying the same detail and noisy texture to the right statue.


Now select the saved noisy brush if you don't still have it selected and make it a bit bigger at about 5px.


Let's now add some noisy texture to the wall behind the statues.


Continue covering the whole wall with detail and texture as shown here. 00:34:50 - 00:36:32


Next up let's grab back our custom brush and sample a light gray from the bridge as shown here. Then paint in a subtle path as shown below.


OK now let's continue pairing our central section even more.


Grab the noisy brush but make it bigger; at about 66px


And with the darker gray selected and in a new layer, paint one pass over the whole entrance section as shown here.


Set the layer to overlay.

Now grab the eraser with the 60px custom brush, and make it smaller at about 17px.


Now erase from the statues as shown here.


Now grab the paintbrush back with the darker gray and the big soft brush at about 45px size.

Work around the entrance to enhance the shading making it have more depth to it. 00:47:42 - 00:48:50


Next up let's focus in our door; I painted it closed yet it has to be slightly opened; let's change that.


Let's use the last clipped layer shown here and our noisy custom brush


Of course just erase the original middle line or paint over it with the base gray, and let's draw the new door a bit opened as shown here. 00:49:10 - 00:50:05

Once you are done with the door; keep using the same brush to add detail to the bases of the statues as indicated below


Then still with the same brush switch the color to the lighter gray and start adding subtle highlights to the statues. 00:51:39 -00:53:12


Here I indicated where on the face/head of the statue I painted a bit of highlight, yet we will do it all around this structures.


Step 10: Small human character and clouds
Now for this step we will be creating a small person going to the entrance of the cave and mystical clouds between the cliffs. Let's first of all create a new layer on top as shown here.

Then grab this small defined brush and a dark gray color. Then just draw the shape of a little guy there; I tried to make it look like a wizard or something.


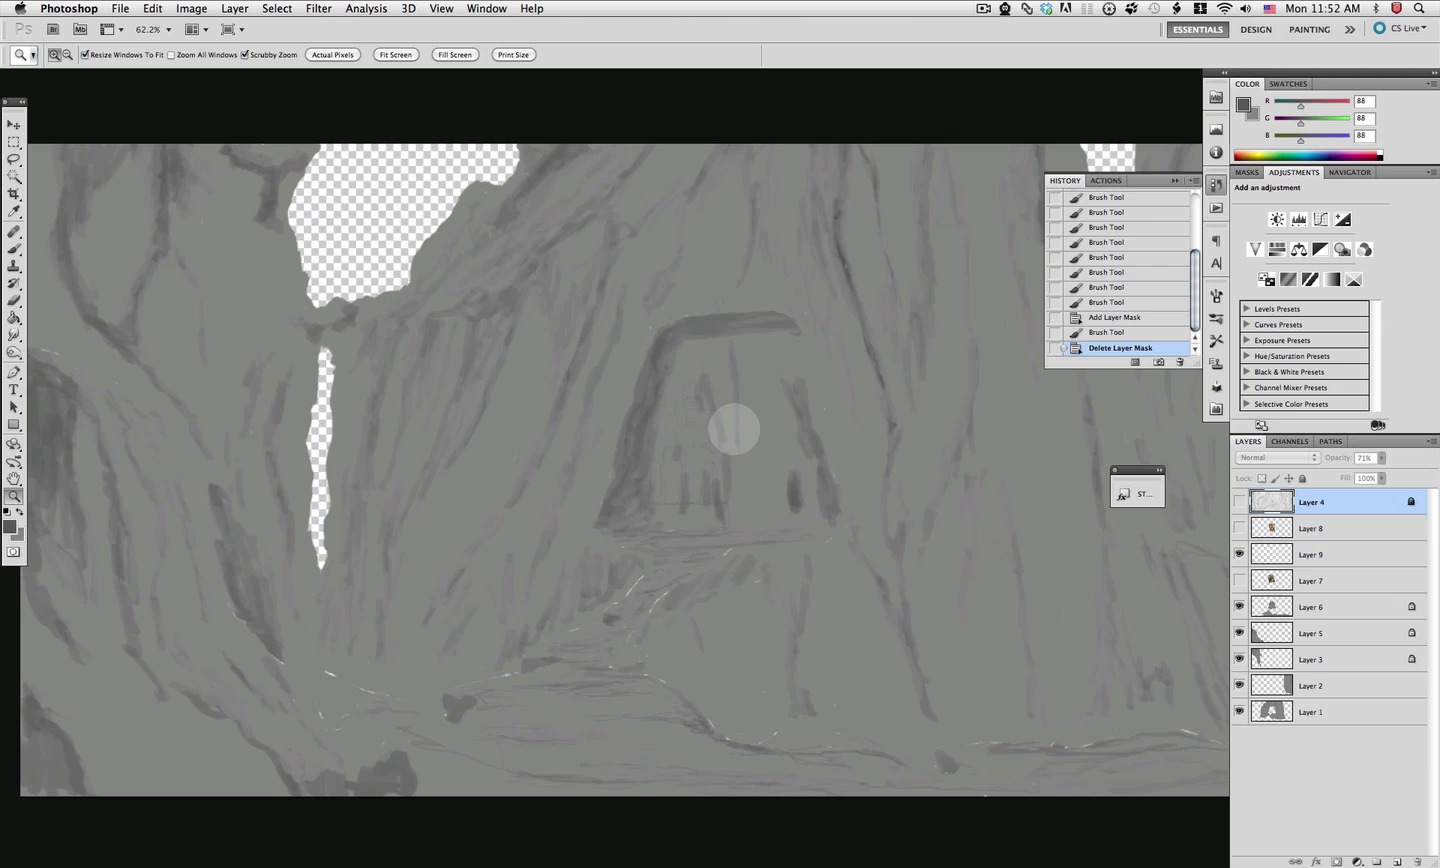
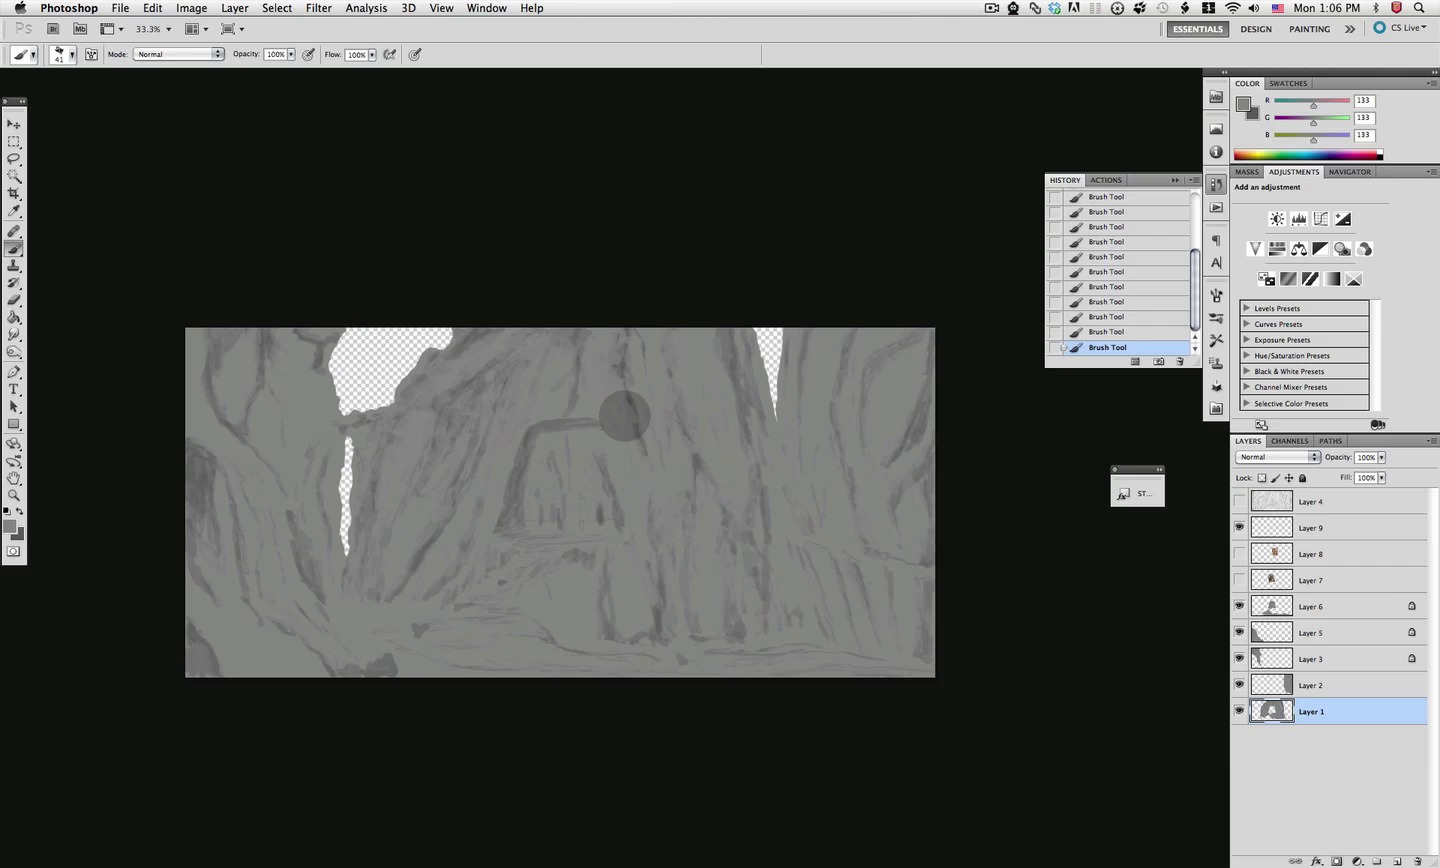
Next I selected all the layers worked on so far and group them together, then I made a duplicate of that group just for safe keeping. So just hide the original group.

Now open up the group and at the very bottom, create a new layer.

Then select this other custom brush I made for you.


Now we will first work on the empty sky sections on both the right and the left.


First paint in with the medium gray color as shown here


Now change the color to a very bright almost white gray as shown here.


Paint in some clouds as shown here, don't cover all the gray or it will not show as clouds. Then repeat the same steps on the right side.


Now create a new layer on top of the central section layers as shown here, make sure it is not clipped.

Be sure you still have the cloudy custom brush selected and the bright gray as color.

Now paint in some nice clouds that fill in the gap between the cliffs, since this layer its below the other cliffs this is done easily. If needed, grab the eraser with the same cloudy brush until you get a nice look for your clouds.


Next up create a new layer on top of the right hand side cliff layers as shown here.

And paint in some more subtle clouds/fog as shown here. Easy enough that is it for this step.

Step 11: Rock bridge detail and further shading
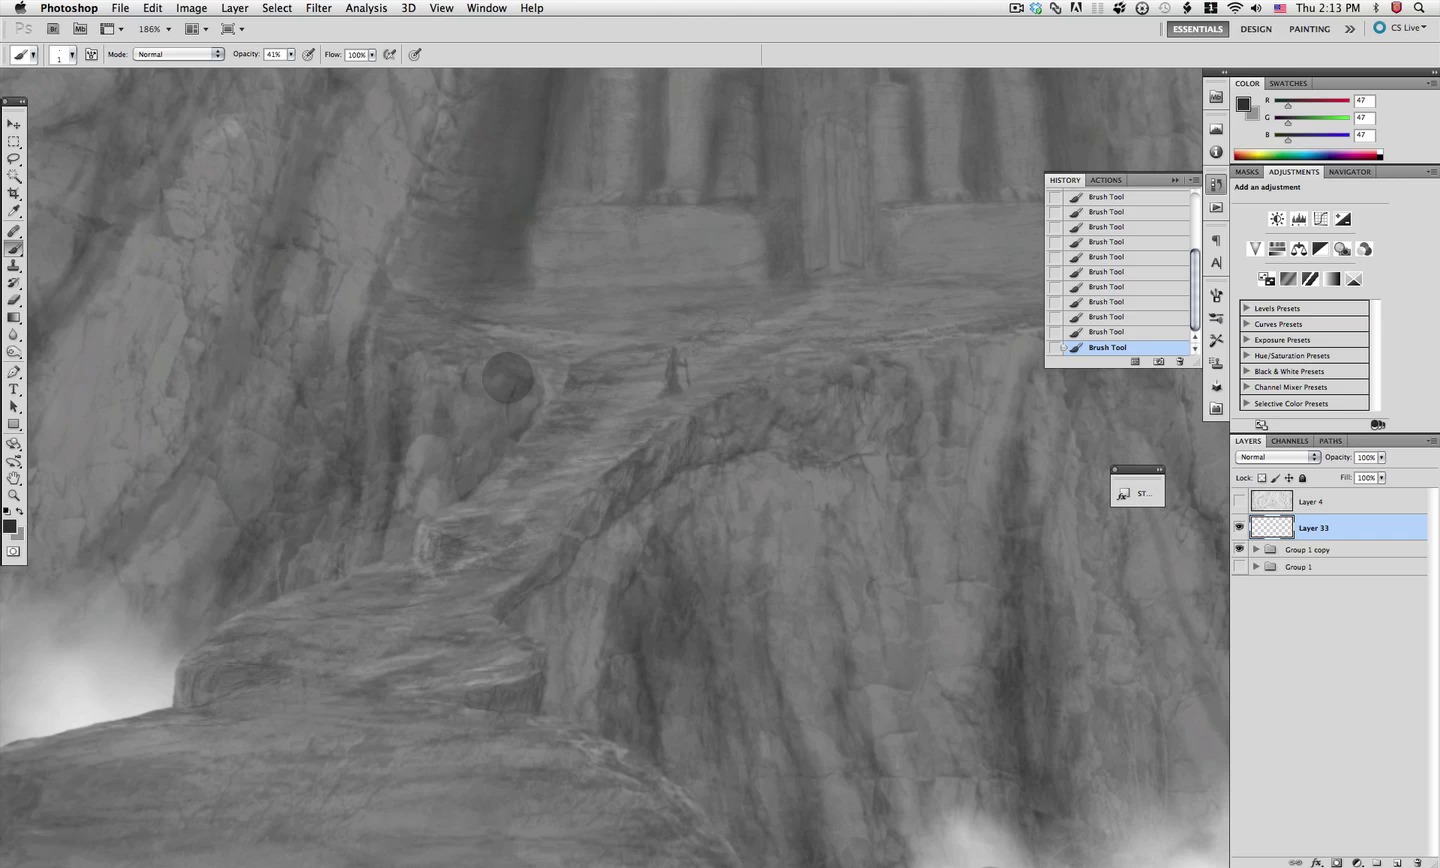
In this step we will be detailing our rock bridge a bit and adding some more shading to the overall piece. So let's create a new layer on top of our group.

Now select the small sharp brush at 1px and the dark gray as color.

Now see the sections marked in red and use the existing features to increase the sharpness and definition of those rocks as shown below. 00:00:16 - 00:03:09


We will go all about this foreground layer in the same way adding small detail as shown here.


Once we are satisfied with the detail, let's create a new layer and set it to overlay as shown.

Select the big soft brush and make it about 411px


Be sure you have the dark gray selected for the color.

Then add shadow in the sections marked here. And that is about what you need to do for this step; you can se my result below.


Step 12: Entrance light
In this small step we will quickly setup the light coming from the entrance. Select the elliptical lasso tool as shown here.


Now make a new layer on top.

Then define an area like the one shaped here.


Then select the gradient tool.

From the included gradients file, select the one shown here; which its a simple white-blue-transparent gradient.


Make sure you have radial gradient selected and drag from the center of the selection as shown here.


Then set the layer to overlay.

Next select the eraser tool and the soft brush shown below.


Soften up the edges by erasing as seen here.


Reduce the size of the eraser brush at about 8px and erase at the back and behind the wizard.


Make a quick selection of this layer by pressing command and click (ctrl + click windows)


And then selecting the gradient tool again increase the effect by dragging again. And that is it for now don't worry if it looks a bit out of place it will look better at the end.


Now pick up our custom brush shown here and make it small at about 3 or 4 px


Sample a bright blue from the gradient center.


Paint in some subtle highlights to the adjacent statues coming from the door.


Now switch back to the darker gray, or use this one if you have lost it and paint in a shadow behind the wizard.


And that is it for this step, don't worry if it looks a bit off it will look great later.


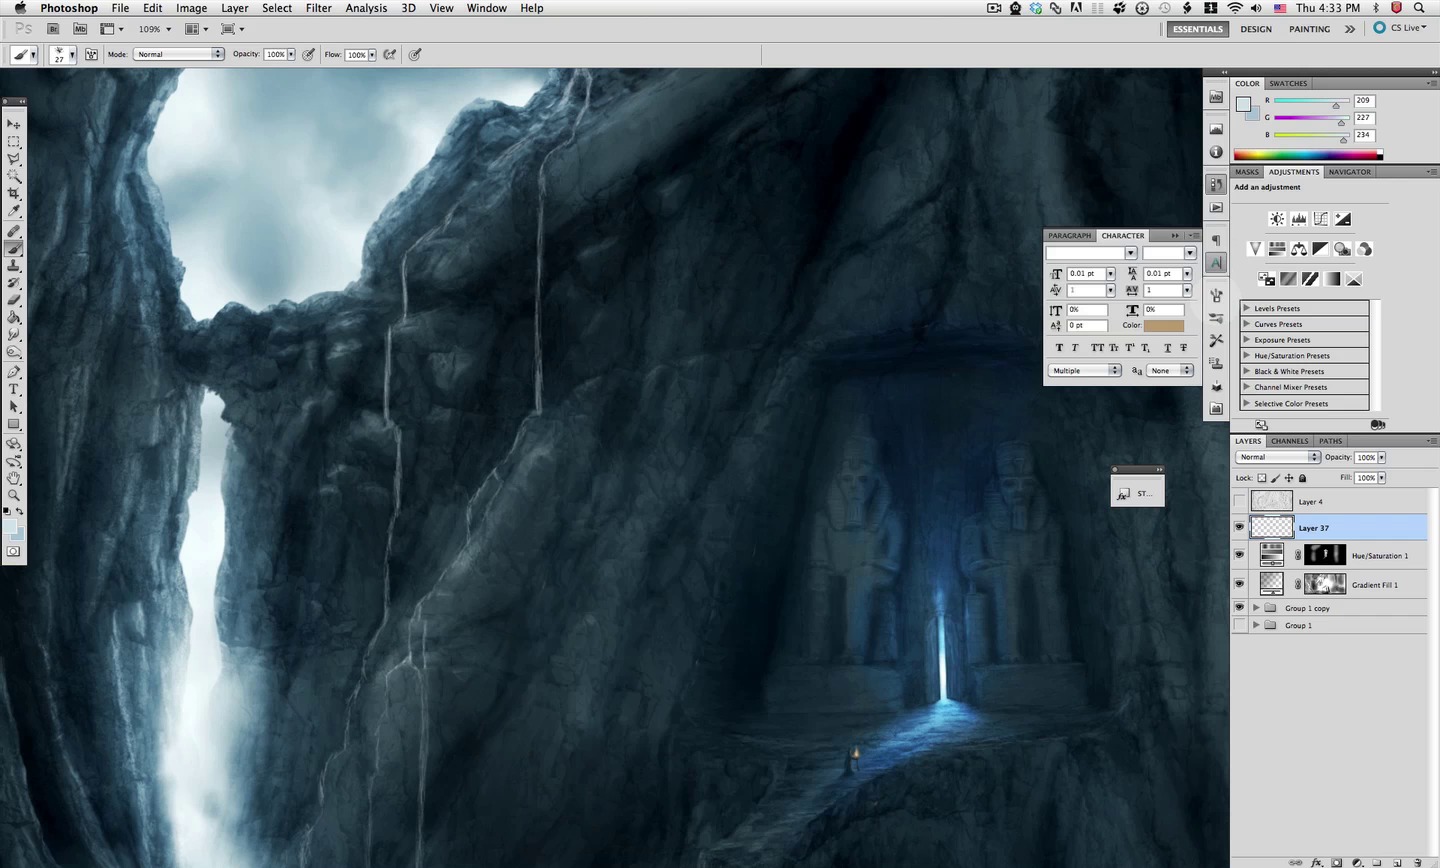
Step 13: Adjustment layers and Fire
Now we will do several adjustment layers and a small touch of fire that will set the mood and final look of our image. Yet first let's touch up the light glow from the door. Grab the eraser tool with the soft brush at about 36 px.


Then just soften it up a bit more as shown here.


OK with that small adjustment out of the way let's go on with the adjustment layers, first off let's do a levels layer and adjust it as shown below.


Great! that in itself provides us with a big change


But we don't want this layer affecting everything so let's do some creative masking by painting in the layer mask. Choose a big soft brush at about 370px and mask of a bit of the levels layer influence as shown below.


OK now let's go back to the layer of the door glow and create a mask for it to and select the brush shown below.


Set the brush opacity a bit down to 41%


And then gradually mask off as shown here, now that we created a layer mask for this, we can come back any time to adjust it as we see fit.


Let's go ahead and now create a curves layer and adjust it as shown below. Don't worry to be pinpoint accurate here, your taste might be different.


This gives us another darkening effect but with great control over the medium tones.


Yet we will also do some masking for this layer, grab the big soft brush again and mask off as shown below.


Now create a color balance layer

We will now adjust this layer with separate adjustments for the shadows, mid tones, and highlights as shown here.


This gives us a nice blue tone with control over each section of the spectrum


Let's go ahead now and create a new layer on top of everything.

Let's now choose the gradient tool and the gradient shown below from the gradient file.


Drag a tiny circular gradient on top of the wizards staff.

Then select the smudge tool with a very small soft brush as shown below.


Drag a bit from the gradient to create the appearance of flames.

Then go back to the brush tool and sample color from the flame itself plus select the brush and size shown below.


Then just paint in some highlights as shown here.


Now select all these layers we have created and drag them into the top of the group.

Now create a new gradient layer and select the gradient below for it.


Adjust the settings for this layer gradient as shown here.

Then set the layer to soft light

And we will again creatively mask off this layer with a big soft brush as shown below.


Now create a hue saturation layer and adjust it as shown below.


We will also use a mask for this layer, yet we only want this layer to affect a small portion of our image. So instead of masking off almost all the layer, we will fill in the mask with black and mask in the effect.


So select the soft brush again at about 61px and white to paint in this layer bluish influence as shown below. Of course you will need to increase the size at the cliffs edge if needed. And that is it we have successfully finalized all our adjustment layers.


Step 14: Waterfall
OK this can constitute the final touch for our image, we will paint in a nice subtle waterfall that will grace our rocks to the left. Let's create a new layer for it.

Select this custom brush here and make it 1px.


Now sample a very bright almost white blue from the clouds close by.

This is the section where we will be painting in the waterfall, so imagine where would the water find its way through the rocks and start painting.


OK this is what I came up with. Now water and mostly water in motion is very bright yet you can see that I changed a bit where the stream is on the shadows and just followed what the rocks dictate, plus also added a bit of splash in certain sections where the water would impact the rock with a bit of force.

Final Image


