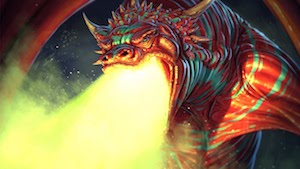
14 сентября 2017
ryujin
143 497
2
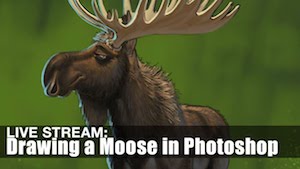
11 сентября 2017
ryujin
29 247
0
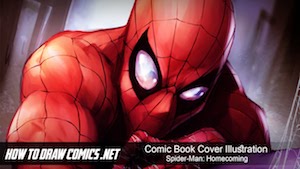
20 августа 2017
ryujin
21 677
0
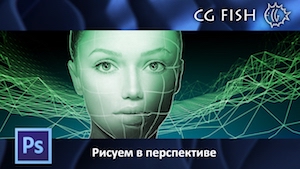
20 июля 2017
ryujin
7 980
0

16 июля 2017
ryujin
9 141
0
7 июля 2017
ryujin
6 805
0
6 июля 2017
ryujin
8 938
0
5 июля 2017
ryujin
28 644
0
2 июля 2017
ryujin
6 492
0
25 июня 2017
ryujin
25 720
0
24 июня 2017
ryujin
7 546
0
23 июня 2017
ryujin
6 995
0
22 июня 2017
ryujin
7 118
0
21 июня 2017
ryujin
6 789
0
21 июня 2017
ryujin
6 754
0
20 июня 2017
ryujin
25 522
0

18 июня 2017
ryujin
6 734
1
15 июня 2017
ryujin
8 800
0
Photoshop уроки
- Видео уроки по рисованию в Photoshop. Большое количество уроков по рисованию персонажей в Фотошоп, окружений (matte painting) и техники.
- Лучшие курсы по базовому обучению навыков рисования цифровых иллюстраций. Создание различных эффектов текста, рисование текстур для 3D моделей, разработка дизайна сайтов и рисование веб иконок (интерфейса).
- Вы научитесь ретушировать (обрабатывать) фотографии, комбинировать рисунки с иными программами для их анимации.
- Уроки по растровой графике и созданию красивых коллажей.
Навигация
Поиск урока


Друзья сайта
Опрос

А ты рассказал о нас всему интернету?
Главная | Форум | Обратная связь | Статистика | Регистрация | Восстановление пароля
Copyright © 2009-2020 Video Tutorials


Copyright © 2009-2020 Video Tutorials