Скачать первую часть: MILG 8 ( моделлинг и риггинг)
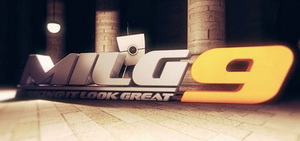
Скачать референс изображение робота: Robot.png Описание:- Making It Look Great 9 - продолжение серии базовых видео уроков по
Cinema 4D от Rob'a Redman'a с роботом.
- В предыдущей серии
MILG 8 , роб показал как создать нано робота в C4D, рассказал про моделлинг, риггинг, текстуринг и рендеринг.
- В
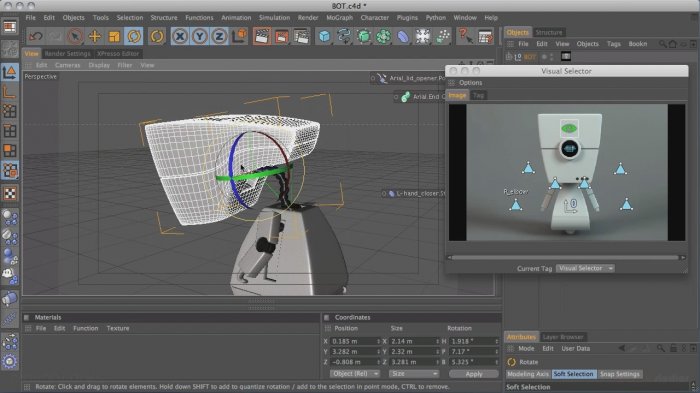
MILG 9 всё внимание сфокусировано на анимации нано робота, постановки сцены, работе с камерами.
- Анимация, съёмка, редактирование и пост продакш короткого фильма! Всё это вы узнаете если скачаете данный курс.
Lesson outline
Introduction
Introduction and overview of the robot setup. Introduces the Robot model and how it was built.
Basic Animation
The basics of animation. Main areas covered include: Timeline navigation, Scene Navigation, Timeline playback and keyframing control, Position keyframes and the motion path, Keyframe Interpolation and curves, Combining Interpolation types, Controlling overshoot, Moving, retiming and reversing keyframe groups, Animating Scale: Scale tool versus Attributes panel.
Align To Spline
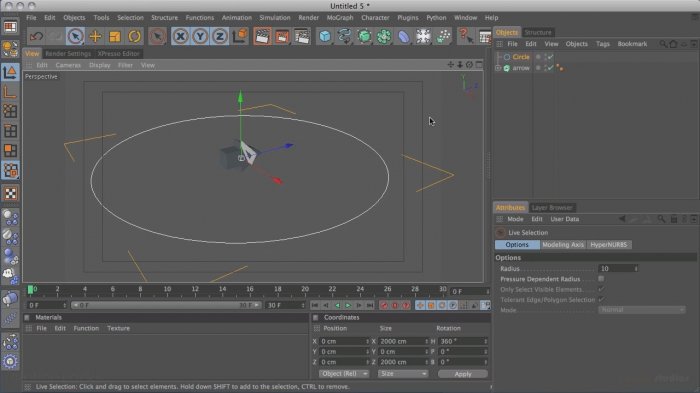
Using the Align to Spline Tag. Main areas covered include: The Spline tool and Extrude Nurbs, Axis point position,Align to Spline tag,Tangential, Rail Path,Using Align to Spline with Cameras.
The Vibrate Tag
Using the Vibrate Tag to add randomness to animations. Main areas covered include: Animating an arrow along a spline, Vibrate tag settings including Regular Pulse.
The Target Tag
Often overlooked by using the default target camera this video shows how to set up a Target tag and it's uses. Main areas covered include: Animating a camera target along a spline, Creating a dolly-style track using Align to Spline.
Spares Bin
Techniques for staying organised, and keeping hidden copies of elements for later use. Main areas covered include: The Layer Browser, Create a Scene Assets layer, Create a ramp using Helix Spline and Sweep Nurbs, Hiding materials, Animate the robot using Align to Spline.
Simple Walk
Create a simple walk cycle. Main areas covered include: Animating side-to-side motion and rotation of the robot, Animating the robot head and neck for natural movement, Animating the arms. Converting the walk cycle animation to a Motion Clip.
Jump
Create a jump animation. Main areas covered include: Animating the robot body and head including adding anticipation to the jump. Adjusting the graph to control overshoot, Locating and remove unnecessary keyframes, Animating the back flap, Animating the aerial, Converting the jump animation to a Motion Clip.
Curious Dance
Learn how expressions can be combined with standard keyframe animation to easily build a more complex motion clip. Main areas covered include: Attaching the robot to a motion path using Align to Spline, Animating the robot body and head to create banking motion, Animating the arms, Converting the dance animation to a Motion Clip.
Spin
Create a spin animation. Main areas covered include: Adjusting graph overshoot to create anticipation, Animating the head, Animating the hand closer, Animating the back flap, Converting the spin animation to a Motion Clip.
Motion System
Using the Motion System to build complex animations quickly. Main areas covered include: Saving and loading clips, Combining clips, The Display Tag and Ghosting.
Set Building
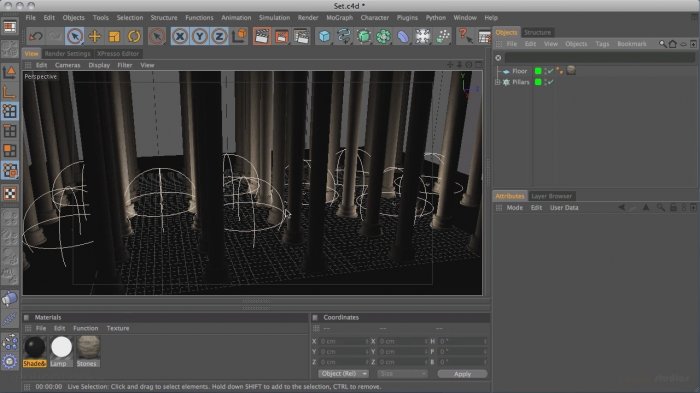
Planning the scene and how to best build the set. Main areas covered include: Model and texture a column using spline and sweep Nurbs, Creating a lamp bulb and shade, Creating a luminance material for the bulb, Creating a cord for the shade. Creating a column and light grid using MoGraph.
Shot 1
Animate the robot peaking then moving from behind a column. Main areas covered include: Using Title Action and Render Safe areas,Working with Xrefs, Timeline navigation shortcuts, Framing and animating the camera.
Shot 2
Animate and track the robot moving down a corridor. Main areas covered include: Using the Pivot Object, Motion Mode, Enhancing keyframes with the walk cycle motion clip, Creating a camera tracking shot.
Shot 3
Create a contra zoom, the classic dolly/zoom effect seen in films such as Jaws and Goodfellas. Main areas covered include: Animating the robot and camera.
Set Extension
Model an extension to the set. Main areas covered include: Using a cube object to create a wall, The Bridge tool, Loop selections, The Knife tool, The Extrusion tool, Texturing the extension, Adding a light.
Staged
Use the Stage object to edit the animation in the scene. Main areas covered include: Using an Xref, Adding a Pivot Point, Combining keyframe animation with motion clips, Combining different camera views using the Stage object.
Setup and Testing
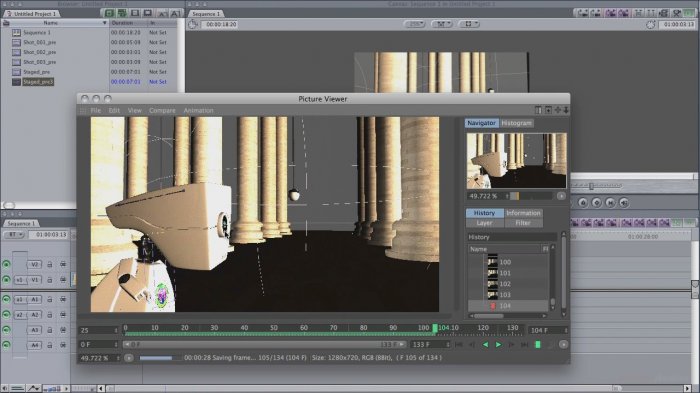
Create and edit draft previews then prepare the scene for final render. Main areas covered include: Software previews, Using editing software to preview, Making changes, Setting up final renders.
Post Work
Color correcting the final render to enhance the drama and emotion of the scene. Main areas covered include: Grading using Magic Bullet Looks, Grading using standard After effects tools.
 Производитель:
 www.motionworks.com.au
Год выпуска: 2010
Язык: Английский
Качество: отличное
Размер: 1,5 гб
Продолжительность: более 7 часов
 Производитель: www.motionworks.com.au
 Постер с гориллой в Cinema 4D & Photoshop
 Шейповая анимация летающих капель в After Effects
 Моделирование торса в 3ds Max
 Анимация рукописного текста в After Effects
 Режим смешивания в Photoshop - давление пера
 Heads Up on Some Cool Graphic Type Techniques
 Создание цифровой иллюстрации с комбинированием различных техник
 Неоновая вывеска в Cinema 4D

