Chapter 01 - DEM (Digital Elevation Model)
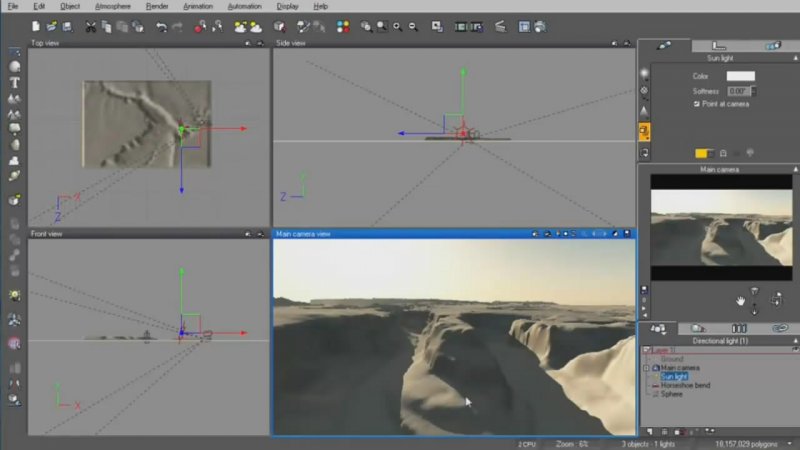
A digital elevation model (DEM) is a digital representation of ground surface topography or terrain. It is also widely known as a digital terrain model (DTM). A DEM can be represented as a raster (a grid of squares, also known as a height map when representing elevation) or as a triangular irregular network. DEMs are commonly built using remote sensing techniques, but they may also be built from land surveying. DEMs are used often in geographic information systems, and are the most common basis for digitally-produced relief maps. In order to build a terrain based on a real location we need to find the elevation data first. We are going to find the data online, convert it to a Vue friendly format and import it into vue to start working. We will go over a couple of different ways of doing it.
Chapter 02 - Framing and Lighting
Lighting in Computer Graphics refers to the placement of lights in a scene to achieve some desired effect. Vue and other animation packages all contain different types of lights that can be placed in different locations and modified by changing the parameters. Too often, people who are creating images or animations ignore or place little emphasis on lighting. This is unfortunate since lighting is a very important part of image synthesis. The proper use of lights in a scene is one of the things that differentiates the talented CG people from the untalented. This is not a new topic as a large amount of work has been done on lighting issues in photography, film, and video. Because we will be working with a terrain which can't be changed of moved, we will do what photographers do. We will find the best angle and frame for the scene with the camera alone. Then we will "wait" for the right light (by moving the sun around) to get the perfect light for our landscape.
Chapter 03 - Materials
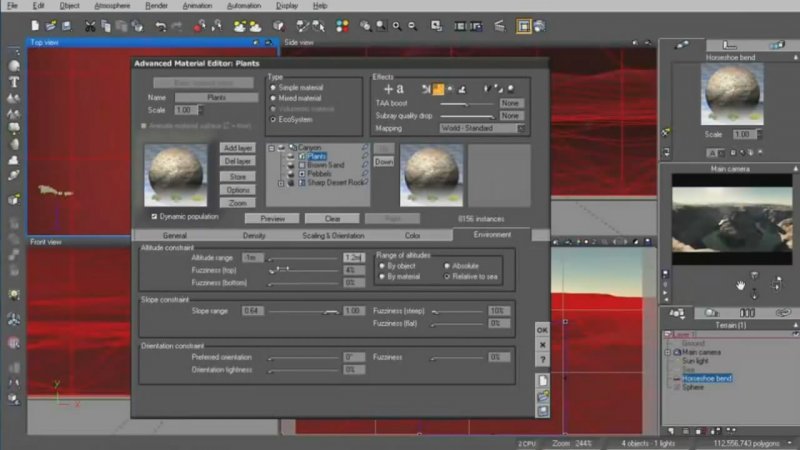
Many real life surfaces are not just colored but also have textures and patterns. Many also have small or large surface displacements or bumps, gouges, etc. Texture mapping is used to simulate these surfaces and thus make images more realistic. Three techniques can be used to achieve the impression of natural colors, textures, and appearances: Texture Mapping, Bump Mapping, and Displacement Mapping. Here we are going to create materials based on photo references. We are going to create bump maps and specular maps, together with color. We will work on the distribution of the materials to create the randomness found in nature. An we will combine different material layers to achive the overall material.
Chapter 04 - Ecosystem
The EcoSystem behaves just like a regular material! You can save it as a material and create a whole library of EcoSystems, which can be used later for other scenes and objects. It also means that, just like mixed materials, you can mix two or more EcoSystems, with environment influences such as altitude, slope and orientation! Thanks to Vue's Ecosystem technology we won't have to plant each individual plant, but we will control the entire plant population with just a couple of buttons and sliders. We will control the density, altitude and color of the ecosystem, to keep it just where we want it to be.
Chapter 05 - Painting Details
Photoshop Digital painting thrives mostly in production art. It is most widely used in conceptual design for film, television and video games. Now that we have our Vue base render we will use Photoshoop to add more details. We will fix some texture issues, paint cracks on the rocks. Add some sediment under water and maybe a bit of extra land somewhere. Overall making the landscape look more believable. By now your probably worries that we are dealing with a 2d solution… BUT DON'T WORRY! We have found the fastest way to get the details that you need in the positions that you need it!
Chapter 06 - Camera Mapping
Camera Mapping is any method of mapping three-dimensional points to a two-dimensional plane. As most current methods for displaying graphical data are based on planar two-dimensional media, the use of this type of projection is widespread, especially in computer graphics and we will demonstrate that here. At this point we have our final painting. Now we just need to make it move. To do that we will create a camera projection inside Vue in a couple of simple steps. Then we will animate a camera to create the shot and prepare the file for final render. After that, well yes, we will render!
Chapter 07 - Compositing in After Effects
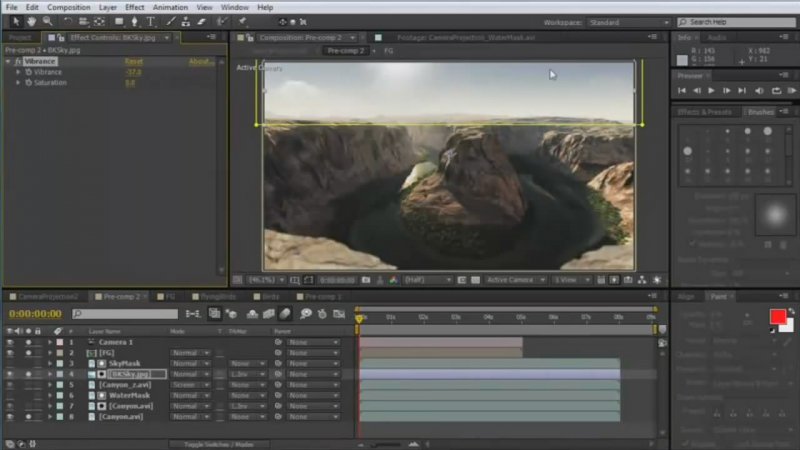
Adobe After Effects is primarily used for creating motion graphics and visual effects. After Effects allows users to animate, alter, and composite media in 2D and 3D space with various built-in tools and third party plug-ins, as well as individual attention to variables like parallax and user-adjustable angle of observation. Using After Effects, we'll go over the project used to make the final animation. We will add some extra elements to bring the shot to life. Including birds, sound and lens flare. No stock footage here...everything will be hand made.
- Мэт-пэйнт, сделанный и анимированый в программе Vue.
- Мы импортируем цифровую модель рельефа, настроим камеру, освещение, материалы и экосистемы в программе Vue. Далее обработаем картинку в Photoshop, подредактируем текстуры, добавим трещины на камнях. Детализируем картинку, чтобы придать ей большую реалистичность. И последний этап - композитинг в After Effects. Здесь мы можем добавить футажи птиц, блики, звуки.
- Файлы сцен, материалы (в высоком разрешении), ЦМР и готовые рендеры присутствуют.
 Офф. сайт данного курса: www.cmivfx.comАвтор:
 Oliver Regueiror
Год выпуска: 2011
Язык: английский
Качество: хорошее (1280x720)
Размер: 918 мб
Продолжительность: 5 часов 6 минут
Рабочие файлы: присутствуют
 Офф. сайт данного курса: www.cmivfx.com
 Softimage ICE в процессе разработки компьютерной графики
 Houdini Procedural Road Creation 2
 Vue. Realistic Procedural Terrains
 Houdini Procedural Road Creation
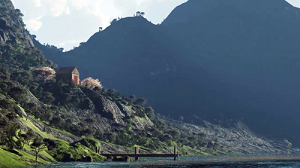 Создание окружающей среды в программе Vue с Scott McEwan
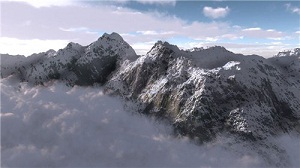 Руководство для начинающих по Vue
 Getting Started with Vue 9 - Forest Creation
 Nuke General Compositing Techniques
 Скульптурирование человеческих ушей в ZBrush
 Basic Xpresso: Introduction
 Цифровое рисование космического корабля в Photoshop
 Анимация 3D логотипа в 3ds Max и After Effects
 Рисуем текстуру для лего фигурки в Maya и Sketchbook Pro
 Моделирование поршня в Cinema 4D
 Плетеный леттеринг в Photoshop
 Книжная полка в photoshop
