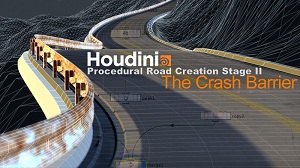
Building The Crash Barrier
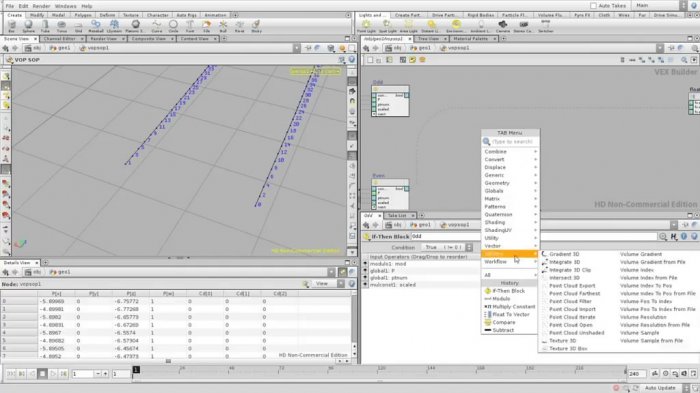
A novel method will be presented to cut a spline up into several segments to be used later as crash barrier placement holders. The crash barrier cannot be build without it's basic components. You'll prepare the basic profiles in order to create the crash barrier. You'll see how to create an absolute space carve digital asset for creating proper placement of the crash barrier support poles.
Setting Relationships Between the Shape
A digital asset works best when its energy lines and chakra's are all in place. To create a good procedural shape you must find as much relationships between the shapes as possible. You'll be explained how to build these relationships and you'll learn how to use expressions and variables to create the relationships between the created shapes.
Grouping Elements For UV's
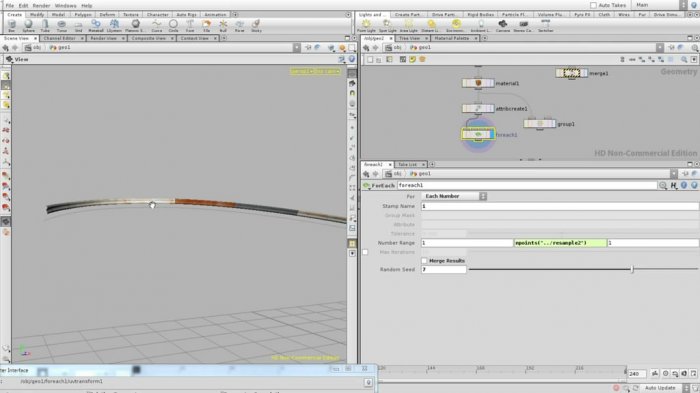
Like stated before a procedural model without proper uv's and textures loses a lot of it's power. In this session you will learn how to create procedural groups of the crash barrier in relation with the spacing between the support poles. You'll see how to get parts from a texture by using random selection within a forloop.
Setting Relationships Between the UV`s and the Texture
Just like with creating the relationships between the geometry you'll have to constrain the uv's to specific boundaries. Using expressions you'll gain experience into controlling the uv's in such ways that they access specific parts of the texture allowing you to create complex procedural mappings. You'll see techniques to to simplify expressions by braking them up using spare parameters. Furthermore you'll learn how to "steal" uv positions from the crash barrier for the support poles using the raysop.
Completing the Graph into a Fast Usable Digital Asset
One of the most important things to consider when creating your tools is that you want to provide the user with fast and clear feedback. It is all about communication with the user. Here you'll learn techniques to provide fast feedback when manipulating the asset and how to create a global scale controller so that you are still able to work with normalized values.
Prototyping on a Simplified Version
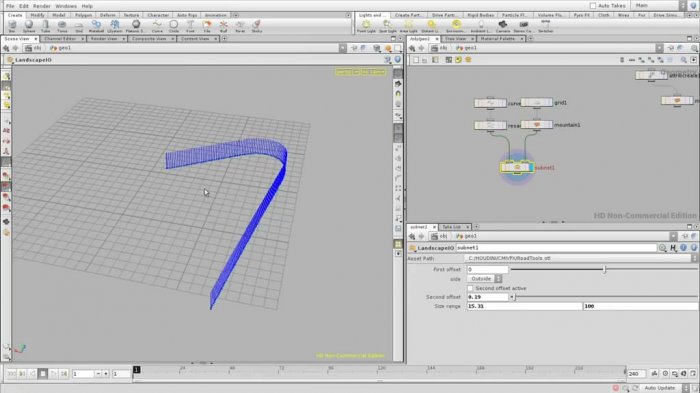
Mountains are big obstacles... Time to get a big drilling machine and a bridge builder. In this section you get to learn how to create the spline segments you need for creating the tunnels and bridges you need for the landscape. Performance is always an issue if you want to build a good functioning tool set. Learn how to use the performance monitor to compare various strategies in your modelling.
Finalizing Graph To Asset
You have to cross a pond a few meters wide, are you going to build the Golden Gate bridge for that? This section you will finalize the digital asset and it's functions. You'll measure the sections lengths in order to make choices what bridge to use possible. As always you'll finish the digital asset into a versatile tool by upgrading the tool that it works on a 3 dimensional landscape using a raysop, by creating a proper interface and by creating relationships between the parameters. You'll be proposed with some ideas how to extend the tool to more functionalities.
- Очередной курс по процедурному моделированию. Теперь показано как разместить дорожный барьер с помощью Vop.
 Источник
:
cmiVFXАвтор: Kim Goossens
Качество: хорошее (1024x576)
Язык: Английский
Продолжительность: 4 часа 20 минут
Рабочие файлы: присутствуют
Размер: 446 мб
 Источник: cmiVFX
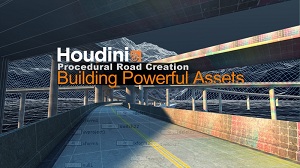 Houdini Procedural Road Creation
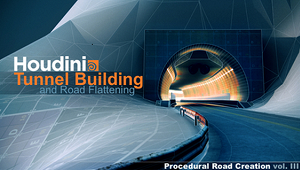 Houdini Procedural Road Creation 3
 Houdini Network Relationships Volume 1
 Creative Development: Creating Procedural Rigs and Controlling Motion in Houdini with Jonah Hall
 Softimage ICE в процессе разработки компьютерной графики
 Vue Moving Matte Paintings
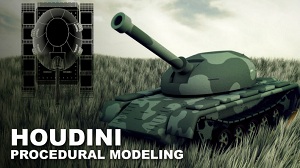 cmiVFX:Houdini Introduction to Procedural Modeling
![[cmiVFX] Техники ретопологии в Luxology Modo](/uploads/posts/2013-01/1359457430_fin.jpg) [cmiVFX] Техники ретопологии в Luxology Modo
[cmiVFX] Техники ретопологии в Luxology Modo
