Моделирование космического корабля в Modo 501
Скачать урок
Смотреть урок
Скриншоты
[media=http://vk.com/video_ext.php?oid=-2599524&id=164134945&hash=f9d2c5f62f565d2f&hd=3]
[media=http://vk.com/video_ext.php?oid=-2599524&id=164134958&hash=dd785cde30e1adab&hd=3]
[media=http://vk.com/video_ext.php?oid=-2599524&id=164134978&hash=cc5360ba67a6f08a&hd=3]
[media=http://vk.com/video_ext.php?oid=-2599524&id=164135024&hash=7e95ee04921e7086&hd=3]
[media=http://vk.com/video_ext.php?oid=-2599524&id=164135049&hash=7575e55f9ca5a8b7&hd=3]


- Методы моделирования, используемые в этом курсе не являются обязательными при моделинге космических кораблей, они могут быть использованы для создания любого транспортного средства, от автомобиля до самолета. Важнее, сам подход к процессу, контроль и организация большого проекта. Целью данных уроков является обучение hard surface моделированию в Modo.
 Офф. сайт данного курса: www.Luxology.com
Автор: Andy Brown
Год выпуска: 2011
Язык: английский
Качество: отличное (HD)
Размер: 444 мб
Продолжительность: 5 часов 2 минуты
Рабочие файлы: Присутствуют
Используемый софт: modo 501
Похожие уроки
Случайные уроки
 Видео уроки по моделированию рыбы (морского окуня) в Modo 601
![[cmiVFX] Техники ретопологии в Luxology Modo](/uploads/posts/2013-01/1359457430_fin.jpg) [cmiVFX] Техники ретопологии в Luxology Modo
[cmiVFX] Техники ретопологии в Luxology Modo
 Model Bashing Kit for Modo
 Архитектурное моделирование в Modo 302: Eames House
 Моделирование и визуализация упаковки для рекламы
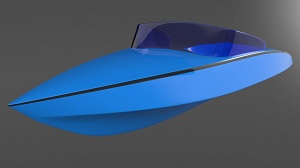 Моделирование лодки в Modo
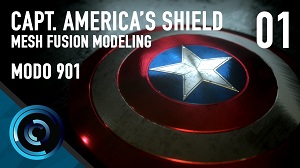 Щит Капитана Америка - моделирование в Modo 901
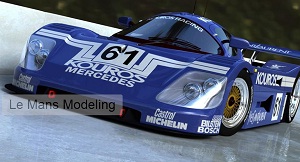 Моделирование спортивного автомобиля Le Mans C9 в Modo
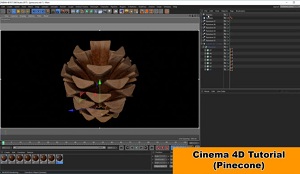 Моделирование шишки в Cinema 4D
 Анимация построения лего в Cinema 4D
 Моушн анимация флага в After Effects
 High-End Network Identity в After Effects
 Визуализация реалистичного дома в Photoshop
 The Final Charge
 Моушн Дизайн с CC Flo Motion в After Effects
 Текстурирование инженера и робота в Maya, Photoshop
Комментарии
Добавить комментарий
Информация
Посетители, находящиеся в группе Гости, не могут оставлять комментарии к данной публикации.
Навигация
Поиск урока


Друзья сайта
Опрос

А ты рассказал о нас всему интернету?
Главная | Форум | Обратная связь | Статистика | Регистрация | Восстановление пароля
Copyright © 2009-2020 Video Tutorials


Copyright © 2009-2020 Video Tutorials